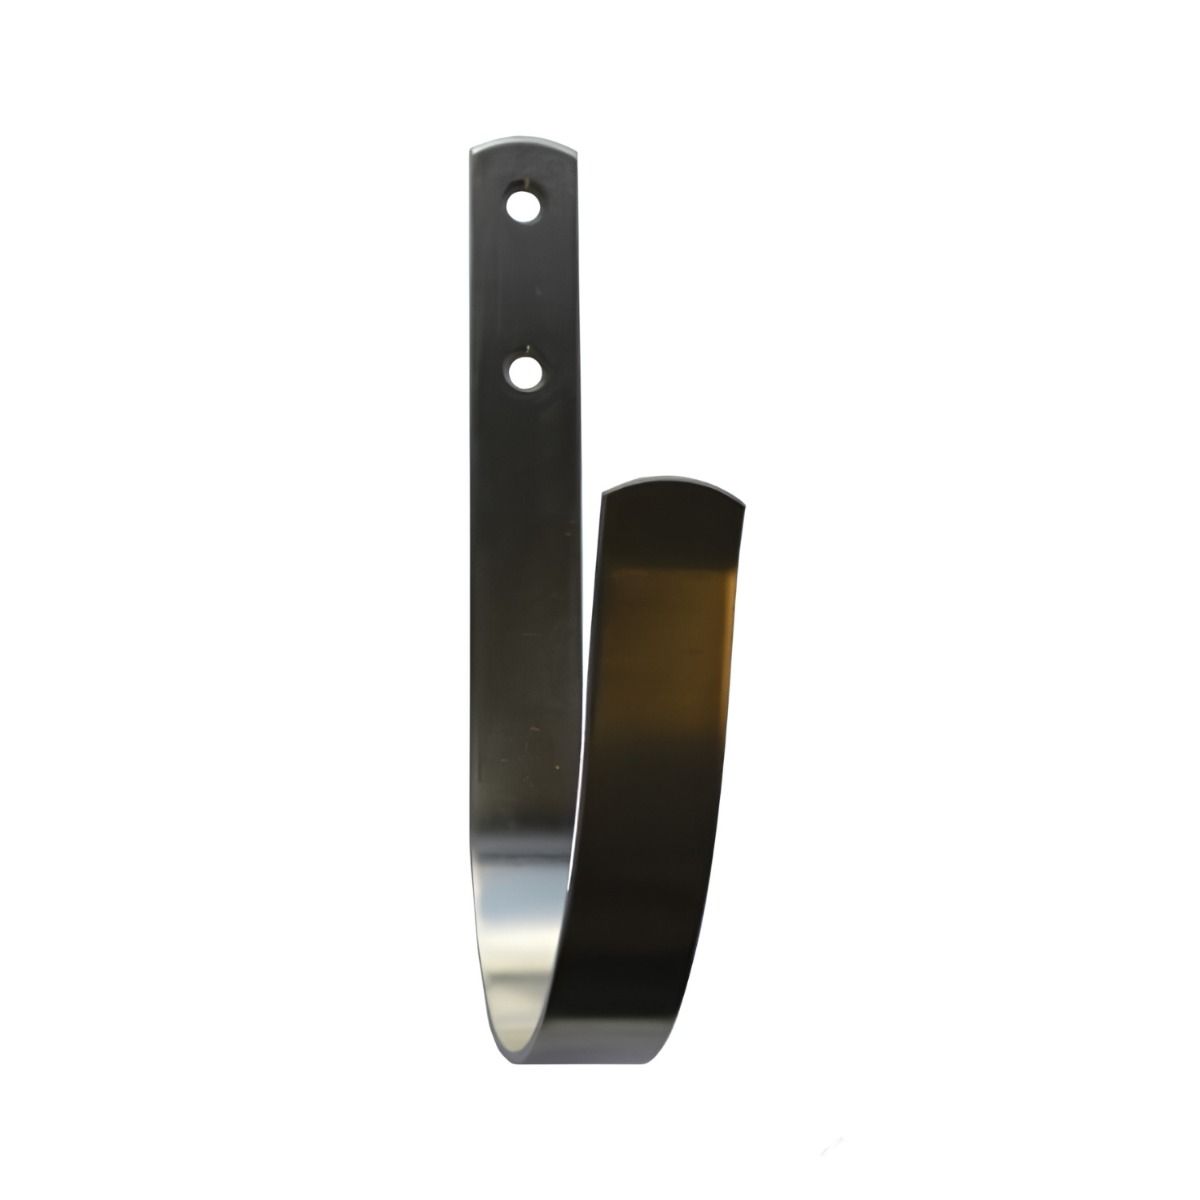
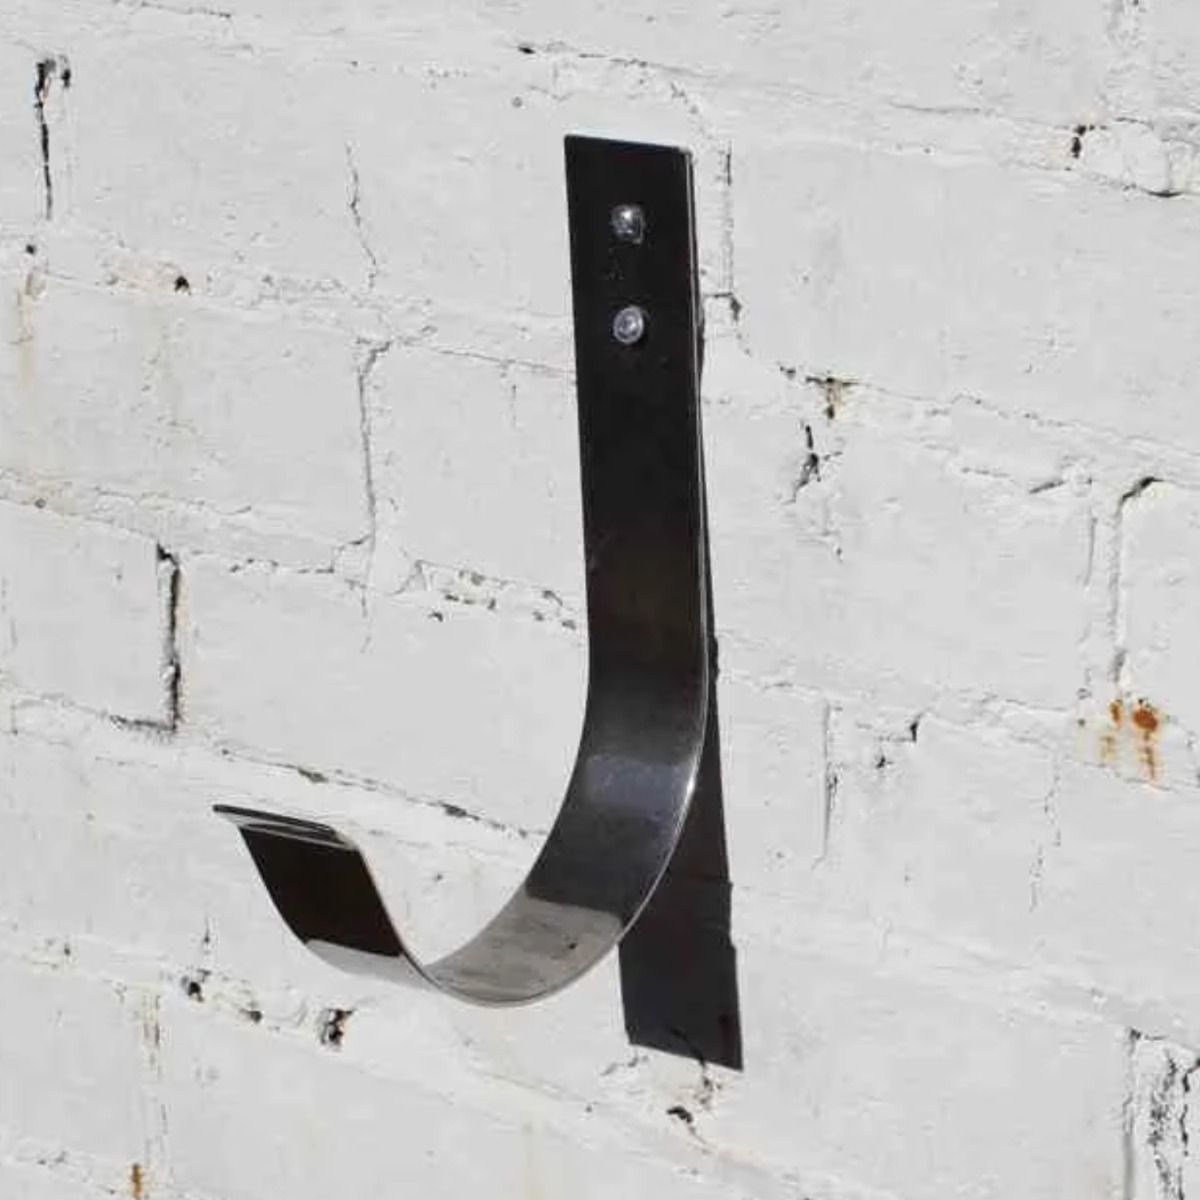
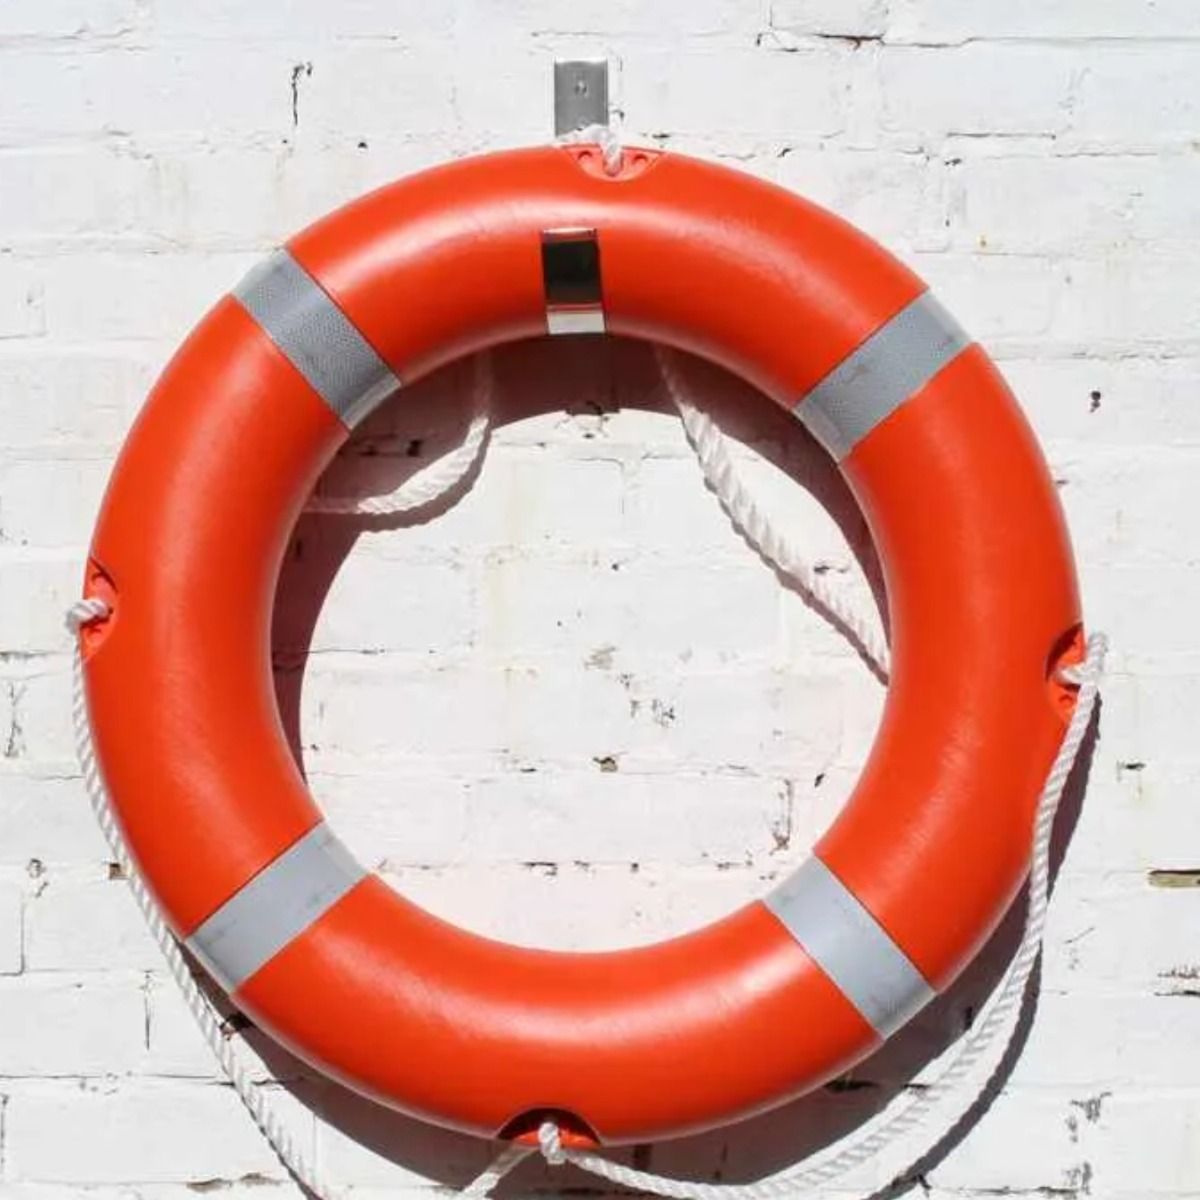
Stainless steel lifebuoy hook for mounting a lifebuoy ring on walls, posts and fences, for harbour, marina and waterside site teams.
- Open J-shaped hook
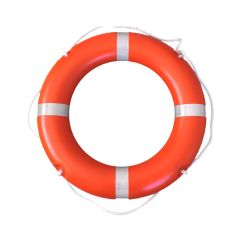
- Fits the 30 inch lifebuoy ring
- Fixes to brick, stone and timber
- 2 countersunk fixing holes
- Supplied with 2 x 1.5 inch (38mm) stainless steel screws and wall plugs
- Dimensions: 2mm thick x 20mm width x 170mm height
- Perfect for use with our lifebuoy ring (LB30)
Stainless Steel Lifebuoy Hook - With Fixings
Stainless steel lifebuoy hook for mounting a lifebuoy ring on walls, posts and fences, for harbour, marina and waterside site teams.
- Open J-shaped hook
- Fits the 30 inch lifebuoy ring
- Fixes to brick, stone and timber
- 2 countersunk fixing holes
- Supplied with 2 x 1.5 inch (38mm) stainless steel screws and wall plugs
- Dimensions: 2mm thick x 20mm width x 170mm height
- Perfect for use with our lifebuoy ring (LB30)
- Buy 3 for £29.93 £24.94 each and save 10%
- Buy 6 for £25.92 £21.60 each and save 22%
| BULK DISCOUNT | 3 | 6 |
|---|---|---|
| Price | £24.94 £29.93 | £21.60 £25.92 |
Order 1x to earn 27 FASTPoints
Order to earn 27 FASTPoints
Log in to access trade discountsStainless Steel Lifebuoy Hook With Fixings
A stainless steel lifebuoy hook is a J-shaped bracket that holds a lifebuoy ring on a wall, post or fence. It screws to any flat surface through two countersunk holes, and the ring hangs from the open hook. The ring lifts straight off when it is needed in an emergency.
How a Fixed Hook Keeps the Lifebuoy Ready to Throw
A lifebuoy left on the ground or tied to a railing gets moved, damaged or lost. In an emergency, nobody can find it, or the rescuer wastes time untying it. A fixed hook keeps the ring in one visible place, where it can be lifted off in a second.
Key Features
-
Open J-shaped hook: the ring lifts straight off, with no clips or catches to undo.
-
Stainless steel: resists rust in wet, outdoor locations beside water.
-
Two countersunk holes: the screw heads sit flush, so nothing catches on the ring or line.
-
Flat back plate: fits tight against brick, stone or timber.
-
20mm wide, 2mm thick steel: a solid strip that holds the ring steady.
Who is this for
Trades and roles
-
Harbour and marina managers
-
Site managers on waterside projects
-
Facilities and estates managers
-
Health and safety managers
-
Maintenance teams
Industries
-
Ports, harbours and marinas
-
Civil engineering and marine construction
-
Water and wastewater utilities
-
Local authorities and public spaces
-
Leisure and waterside hospitality
Specifications
| Specification | Detail |
|---|---|
| Product name | Stainless Steel Lifebuoy Hook - With Fixings |
| Product code | LBMHOOK |
| Product type | Lifebuoy mounting hook |
| Material | Stainless steel |
| Shape | J-shaped open hook |
| Mounting surface | Flat surfaces, including brick, stone and timber |
| Fixing holes | 2, countersunk |
| Thickness | 2mm |
| Width | 20mm |
| Compatible lifebuoy | Lifebuoy Ring - 30 Inch SOLAS Approved (LB30) |
Compatibility
| Surface, lifebuoy or location | Suitability |
|---|---|
| 30 inch lifebuoy ring | Suitable |
| Brick and stone walls | Suitable, fixed with wall plugs |
| Timber posts, boards and fences | Suitable, screwed straight into the timber |
| Round railings and rails | Not recommended, the hook needs a flat surface, use a rail-mount bracket |
| Plasterboard and hollow walls | Not recommended, fix into solid masonry or timber |
| Exposed or vandal-prone locations | Not recommended, use a lifebuoy housing or cabinet |
Typical Users and Projects
Lifebuoy hooks are fitted when a new lifebuoy point is set up, or when an old bracket needs replacing. Harbours, marinas, utilities and waterside construction sites fix them to walls, posts and fences along the water’s edge. Fitting takes basic tools and a few minutes.
Typical applications
-
Mounting lifebuoys on dock and harbour walls.
-
Fixing lifebuoys to timber posts on riverbanks, canals and lakes.
-
Setting up lifebuoy points on fences beside open tanks at water treatment works.
-
Providing temporary lifebuoy points on hoarding and timber posts at waterside construction sites.
-
Replacing rusted or broken lifebuoy brackets in parks and public spaces.
How to use
Step 1: Choose a spot near the water’s edge where the lifebuoy is easy to see and reach.
Step 2: Check for hidden cables and pipes, then mark the two holes using the hook as a template.
Step 3: In brick or stone, drill the holes and push in the wall plugs. In timber, drill small pilot holes.
Step 4: Screw the hook in place until the screw heads sit flush in the countersunk holes.
Step 5: Hang the lifebuoy on the hook, with its throw line attached and coiled.
Step 6: Check that the ring lifts off the hook freely.
Common mistakes
-
Mounting the lifebuoy too high or behind obstacles, where it is slow to reach.
-
Fixing into plasterboard or crumbling mortar, so the hook pulls loose.
-
Leaving the screw heads proud, so they catch on the ring or line.
-
Hanging a lifebuoy without its throw line.
-
Fitting the hook to a round railing, where it cannot sit flat.
Safety
Check for hidden cables and pipes before drilling. Wear eye protection when drilling masonry, and control silica dust. Keep the lifebuoy point clear, so anyone can reach it quickly.
Maintenance
Check the hook during routine lifebuoy checks. Tighten loose screws and replace a bent or damaged hook. Near the coast, rinse off salt deposits with fresh water.
Frequently Asked Questions
Q: How do I mount a lifebuoy on a wall?
A: Screw the hook to the wall through its two countersunk holes, using wall plugs in brick or stone. Hang the lifebuoy on the hook with its throw line attached. Choose a spot near the water’s edge where the ring is easy to see and reach.
Q: What does 2mm x 20mm mean on a lifebuoy hook?
A: The first number is the thickness of the steel, 2mm. The second number is the width of the hook, 20mm.
Q: Which lifebuoy does this hook fit?
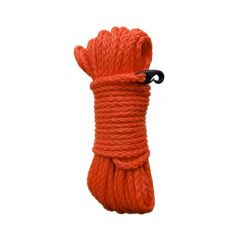
A: It fits the Lifebuoy Ring - 30 Inch SOLAS Approved. Together with the floating lifebuoy throw line, they make a complete lifebuoy point.
Q: What is this hook not suitable for?
A: It needs a flat surface, so it does not suit round railings or rails. It should not be fixed to plasterboard or hollow walls. In exposed or vandal-prone spots, a lifebuoy housing or cabinet gives more protection.
Q: Should I use a hook or a lifebuoy housing?
A: An open hook gives the fastest access, as the ring lifts straight off. A housing or cabinet protects the ring and line from weather and vandalism. Choose a hook where the lifebuoy point is overlooked and sheltered.
Q: Can the hook be fixed to a timber post or fence?
A: It fixes to any flat timber surface, including posts, boards and fences. Screw it straight into the timber, without wall plugs.
Q: Where should a lifebuoy hook be fitted?
A: Fit it close to the water’s edge, at a height most people can reach. The lifebuoy should be easy to see from the path or quay. Your risk assessment decides how many lifebuoy points you need and how far apart.