Water Safety Buying Guide
Working Near Water: Lifejackets, Lifebuoys and Rescue Equipment for UK Sites
When someone falls into water, the first minutes decide the outcome. The right lifejacket keeps them afloat, and a lifebuoy point lets a colleague pull them out without going in. This guide explains what the law asks of you, which lifejacket to choose, how to build a lifebuoy point, and how to keep it all ready.
The Quick Answer
- Anyone working at the water's edge needs a lifejacket. Choose an automatic lifejacket wherever a fall could happen without warning.
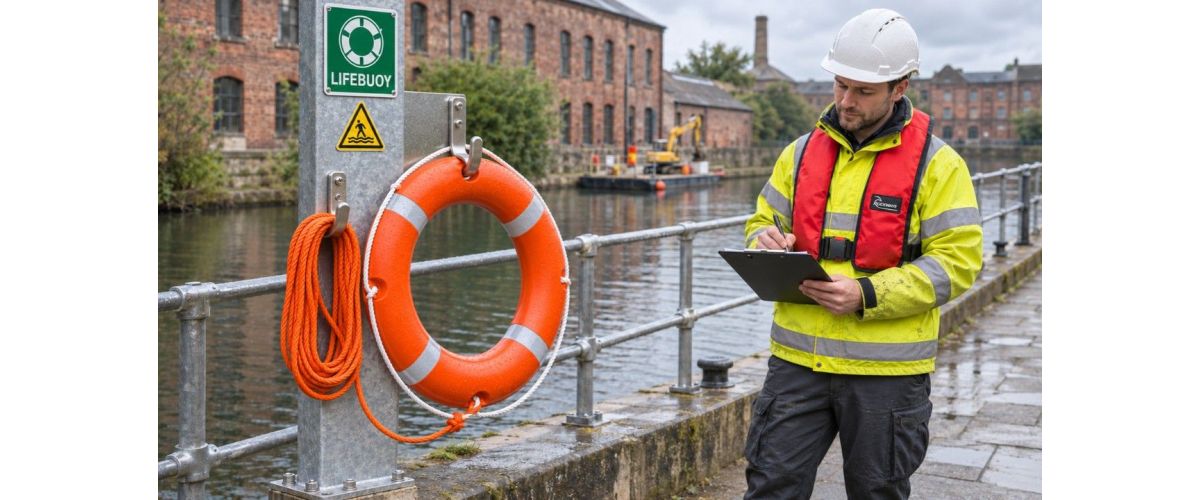
- Every stretch of water's edge needs rescue equipment close by. A lifebuoy point is a lifebuoy ring, a floating throw line and a mount to hang it on.
- Your risk assessment decides how many lifejackets and lifebuoy points you need, and where they go.
- Nobody should go into the water to rescue someone. Call 999, then reach or throw from the bank.
What the Law Asks of You
On construction sites, the Construction (Design and Management) Regulations 2015 cover drowning directly. Regulation 26 says that where someone could fall into water and drown, suitable steps must be taken to:
Outside construction, the general duties of the Health and Safety at Work etc. Act 1974 still apply, and the Personal Protective Equipment at Work Regulations 1992 cover lifejackets as PPE. HSE publishes guidance on personal buoyancy equipment for work on inland and inshore waters.
Four Layers of Water Safety
No single product covers every risk. Good water safety plans stack four layers, so if one fails, the next one helps.
1. Prevent
Edge protection, barriers and safe access stop people falling in. This always comes first.
2. Protect
A lifejacket keeps the person afloat and upright once they are in the water.
3. Rescue
A lifebuoy and floating throw line let a colleague pull them out from the bank.
4. Respond
A rescue plan, a 999 call and trained people turn equipment into a rescue.
Manual or Automatic Lifejacket?
Both types are inflatable gas lifejackets. They differ in one way that matters at work: what makes them inflate.
| Feature | Manual lifejacket | Automatic lifejacket |
|---|---|---|
| How it inflates | Only when the wearer pulls the toggle | On its own in the water, or when the toggle is pulled |
| If the wearer is knocked out | Does not inflate | Still inflates |
| Best for | Alert wearers on boats and pontoons, where the risk assessment allows it | Work at the water's edge, lone working, and anywhere a fall could happen without warning |
| Our model | Bluewave 150N Manual Lifejacket | Bluewave 150N Automatic Lifejacket |
What does 150N mean?
150N is the buoyancy, measured in newtons. It equals roughly 15kg of lift. Lifejackets tested to EN ISO 12402-3 meet performance level 150, which supports an adult in foul weather clothing and turns them upright in the water.
Our lifejackets
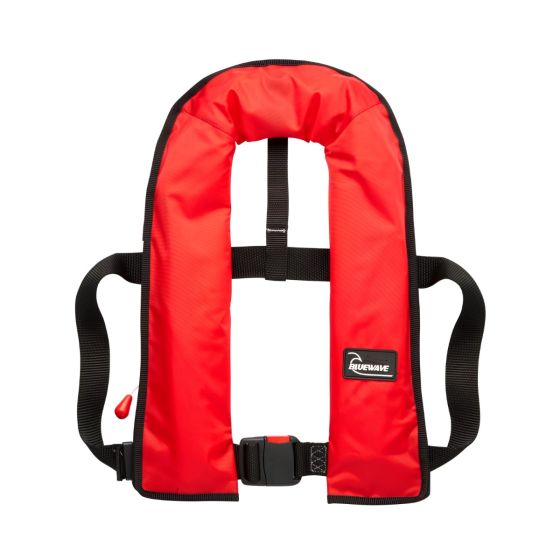
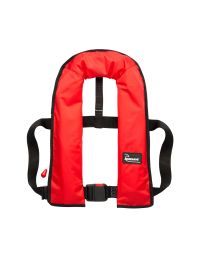
Bluewave 150N Automatic Lifejacket - With Manual Override
- Inflates on its own in the water
- Manual override pull toggle
- 150N, EN ISO 12402-3
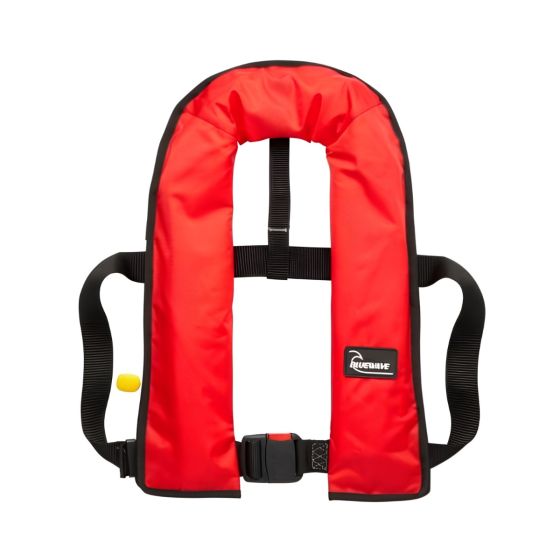
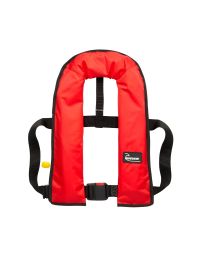
Bluewave 150N Manual Lifejacket - Pull Cord Inflation
- Inflates when the toggle is pulled
- Not set off by spray or rain
- 150N, EN ISO 12402-3
Water Safety Kit Builder
Build your water safety kit in four steps
A starting point to check against your risk assessment
How to Build a Lifebuoy Point
A lifebuoy on its own is only half a rescue. Without a line, the casualty can hold on but cannot be pulled in. A complete lifebuoy point has three parts:
Setting it up
Everything for a lifebuoy point
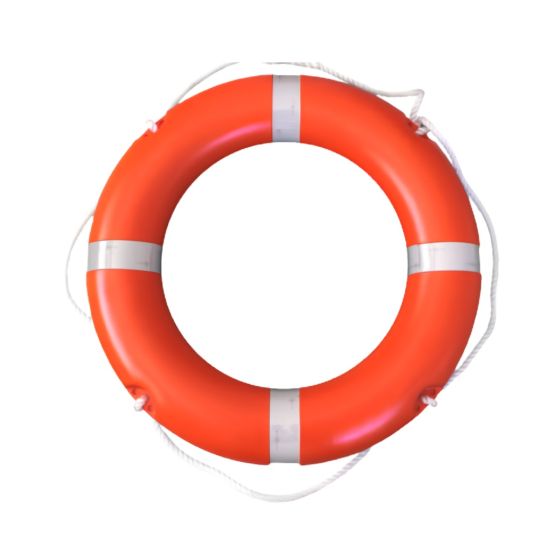
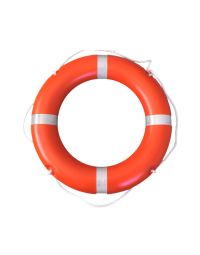
Lifebuoy Ring - 30 Inch SOLAS Approved
- SOLAS and MED approved
- Approx. 74cm outside diameter
- PU foam filled, reflective tape
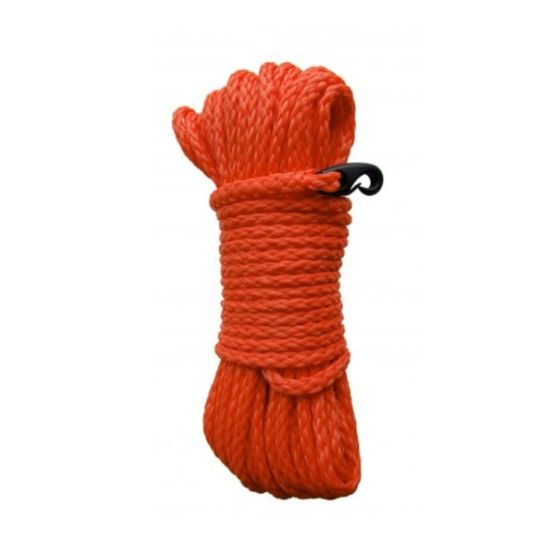
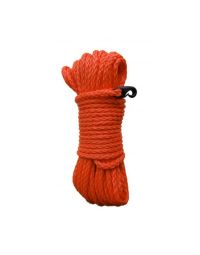
Floating Lifebuoy Throw Line - 30m x 8mm
- Floats on the surface
- 30m of 3-strand polyethylene
- 450kg tensile strength
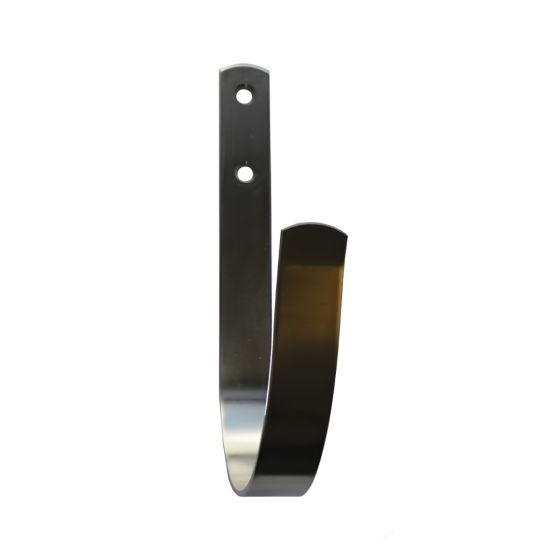
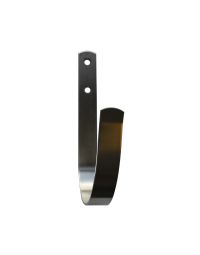
Stainless Steel Lifebuoy Hook - With Fixings
- Open J-hook, ring lifts straight off
- Fixes to brick, stone and timber
- Screws and wall plugs included
Where to Put Lifebuoys
There is no single spacing rule that suits every site. Your risk assessment decides how many lifebuoy points you need. These questions help:
- Where do people work, walk or cross near the water?
- How long would it take to reach the nearest lifebuoy from any point on the edge?
- Is there a straight drop to the water, such as a quay wall? A larger 30 inch ring is easier to land close to the casualty from height.
- Is the water fast-flowing, so a casualty could drift away from the edge?
- Can the public reach the site? Exposed or vandal-prone points may need a housing or cabinet.
How to Rescue Someone Safely
After the rescue
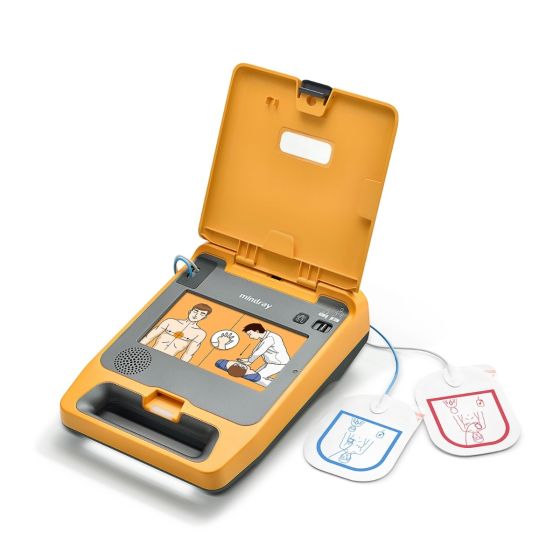
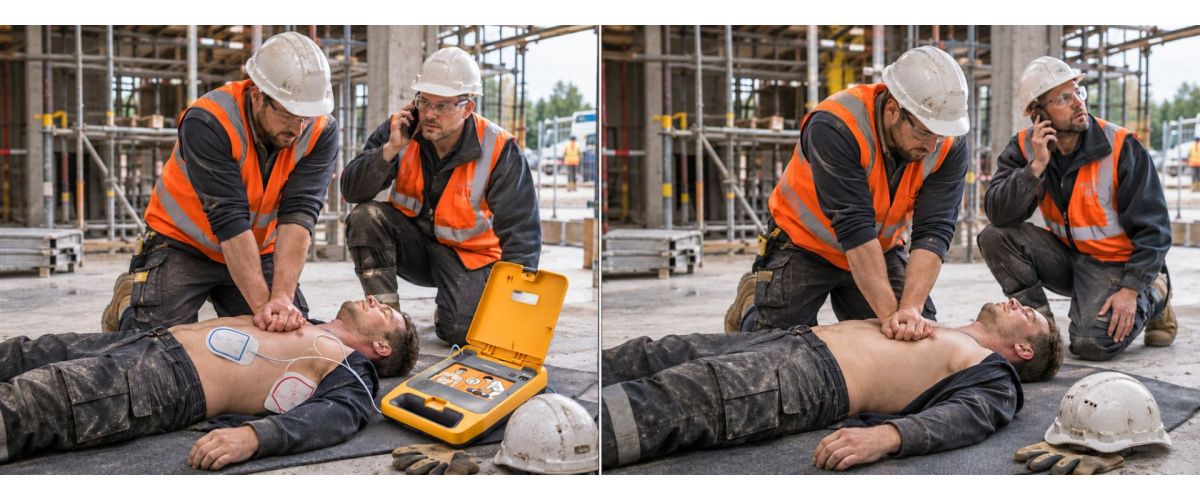
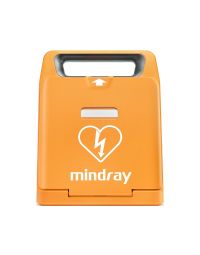
AED Defibrillator - Fully Automatic
- Voice prompts guide every step
- IP55 rated, usable in the rain
- Dry the chest before fitting the pads
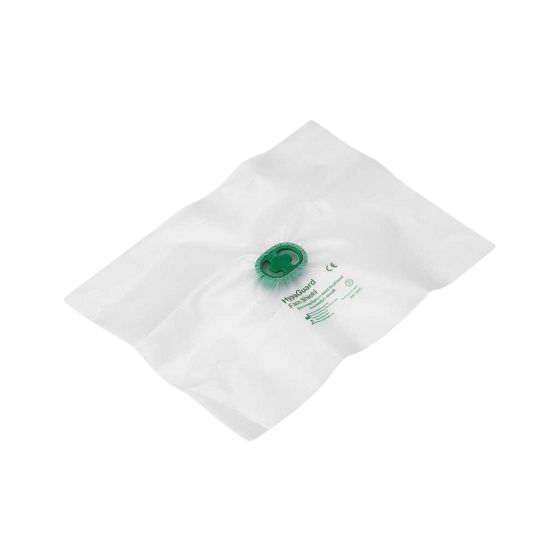
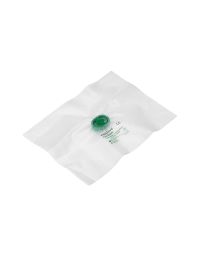
CPR Face Shield - With One-Way Valve
- Barrier for rescue breaths
- Single use
- Small enough to keep with the lifebuoy kit
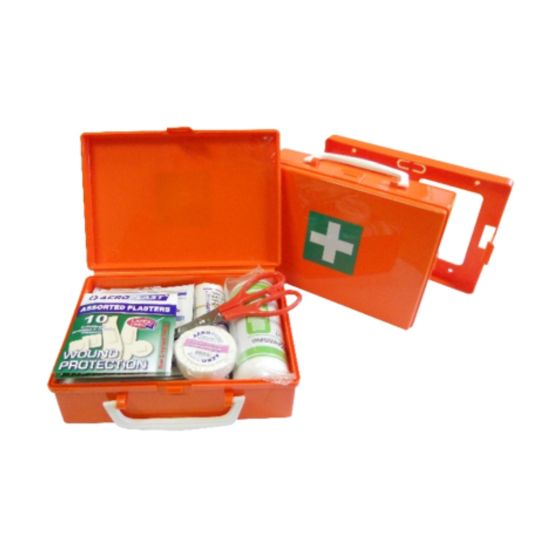
Vehicle First Aid Kit
- Hard case with wall bracket
- Stays fixed in the van or cab
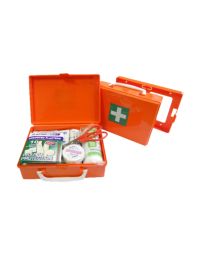
- First aid for crews away from base
Checks and Maintenance
Lifejackets, before every use
Check the cylinder is screwed tight and unused, and the cover is closed and undamaged.
Lifejackets, after use
Rinse after salt water, dry naturally and re-arm after any inflation. Service as the manufacturer's instructions describe.
Lifebuoy points, regularly
Check every ring, line and hook is in place, and after storms or vandalism.
Replace when worn
Replace cracked rings, faded tape, frayed or stiff lines, and bent hooks.
Common Mistakes to Avoid
| Mistake | Why it matters | The fix |
|---|---|---|
| A manual lifejacket where a fall could happen without warning | An unconscious wearer cannot pull the toggle | Choose an automatic lifejacket |
| A lifebuoy with no line | The casualty can float but cannot be pulled in | Fit a floating throw line to every ring |
| A lifebuoy left on the ground or tied to a railing | It gets moved, lost or slow to free | Mount it on a lifebuoy hook |
| A lifejacket worn loose or under clothing | It rides up or cannot inflate properly | Wear it over all clothing, adjusted for a snug fit |
| Spent cylinders and missing rings left unreplaced | The equipment fails when it is needed | Check regularly and replace straight away |
Frequently Asked Questions
Is a lifejacket a legal requirement when working near water?
On construction sites, CDM 2015 Regulation 26 requires steps to reduce the risk of drowning if someone falls in, and lifejackets are a common way to do that. Your risk assessment decides who needs one. Lifejackets provided at work count as PPE.
Should I choose a manual or an automatic lifejacket?
Choose automatic wherever a fall could happen without warning or the wearer could be knocked out. A manual lifejacket suits alert wearers on boats and pontoons, where the risk assessment allows it.
What does 150N mean on a lifejacket?
It is the buoyancy, 150 newtons, or roughly 15kg of lift. A 150N lifejacket tested to EN ISO 12402-3 supports an adult in foul weather clothing and turns them upright.
Does a lifebuoy need a rope?
A lifebuoy should always have a floating throw line attached. Without one, the casualty can hold the ring but cannot be pulled to the edge.
What size lifebuoy do I need?
A 30 inch lifebuoy is larger and more buoyant than a 24 inch ring. It suits docks, harbours and sites with a straight drop to the water, where a bigger target is easier to land close to the casualty.
How many lifebuoys does a site need?
There is no single number. Your risk assessment sets it, based on the length of water's edge, where people work and how quickly anyone can reach a lifebuoy. Fit one at every access point to the water and along the edge between them.
How often should water safety equipment be checked?
Check lifejackets before every use, and service them as the manufacturer's instructions describe. Check lifebuoy points regularly, and after storms or vandalism.
Should I ever go into the water to rescue someone?
Never. Call 999 and use a lifebuoy and line from the bank. Rescuers who go into the water often become casualties themselves.
This guide gives general information on water safety equipment at work. It is not a substitute for your own risk assessment, rescue plan or training.